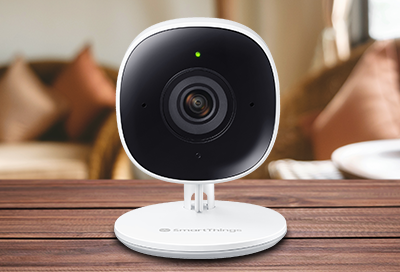
SmartThings Smart Cam set up stopped at 39%

The SmartThings Smart Cam does not require connection to a SmartThings hub to complete its setup. If you receive an error message during setup while using an Android phone, check your network connection, and then close and reopen the SmartThings app. You can also try resetting the camera if the issue persists.
-
Move the phone closer to the camera during the setup.
If the phone is too far away from the camera, it may not be able to pick up the camera's signal.
-
Make sure your phone's Wi-Fi is turned on.
Navigate to and open Settings, tap Connections, and then tap Wi-Fi. Make sure the switch next to Wi-Fi is turned on and that your phone is connected to a network.
-
Close the SmartThings app on your phone, and then reopen it.
Tap Recents on your phone's Navigation bar. Swipe up on the SmartThings app to close it. Then, navigate to and reopen the app.

-
Make sure the status LED on the camera is blinking amber.
If the LED is blinking amber, the camera is ready for setup. If it the LED is not amber or on at all, then reset the camera.
To reset the camera, press and hold the Reset button located on the back side of the camera for 15 seconds, and then release it. The camera will make a "click" sound, and then the LED will start blinking green. The camera is ready to connect with SmartThings once the LED starts blinking amber.
-
Choose the location for your camera.
Navigate to and open the SmartThings app, tap the Home icon, and then select the location where you want to add the camera.
-
Connect the camera to the SmartThings app.
Tap the Devices tab, tap Add (the plus icon), and then tap Add device. Tap By brand, and then tap SmartThings. Tap Camera, and then tap Cam. Tap Start, and then use the on-screen instruction to complete the camera's setup.

Contact Samsung Support


