Smart Cam setup stopped at go to Wi-Fi settings on your phone error
If you receive a "Go to Wi-Fi settings on your phone..." error during the setup of the Smart Cam in SmartThings, move your phone closer to the camera. Make sure to check the Wi-Fi connection between your phone and the camera using the phone's Wi-Fi settings.
-
Move the phone closer to the camera during the setup.
Make sure there aren't any other phones nearby that may be trying to connect to the camera.
-
Make sure the camera's temporary network appears in the phone's available network list.
On your phone, navigate to and open Settings. Tap Connections, and then tap Wi-Fi. Check for the camera's temporary network name and status in the network list. For example, the camera's network name may appear as [CAM] ST-3 1902CU.
- If the camera's network status is "Connected," proceed to Step 4.
- If the camera's network status is "Authentication error occurred," continue to the next step.
-
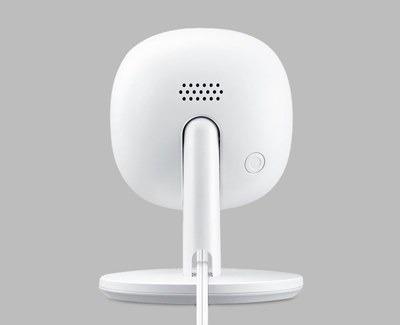
Reset the camera.
Press and hold the Reset button located on the back side of the camera for 15 seconds, and then release the button. The camera will make a "click" sound and then the status LED will blink green, indicating the camera was reset. The camera is ready to connect with SmartThings once the status LED is blinking amber.
-
Close the SmartThings app on your phone, and then reopen it.
Touch and hold the Recents key on your phone. Depending on your phone, you will need to swipe either up, down, left, or right on the SmartThings app to close it. Now, re-open the app.
-
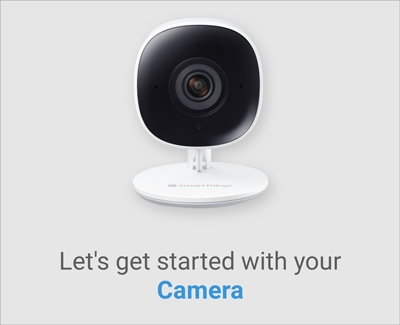
Connect the camera to the SmartThings app.
From the SmartThings app, tap the Home icon, and then select the location where you'd like to add your Smart Cam. Tap the Devices tab, and then tap Add (the plus sign) in the top right corner. Tap Add device.
-
Add your camera.
Tap the By brand tab. Tap SmartThings, tap Camera, and then tap SmartThings Cam. Follow the on-screen instructions in the app to complete the camera setup.
Contact Samsung Support


