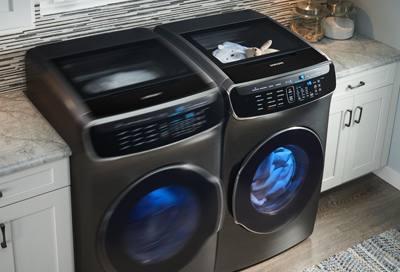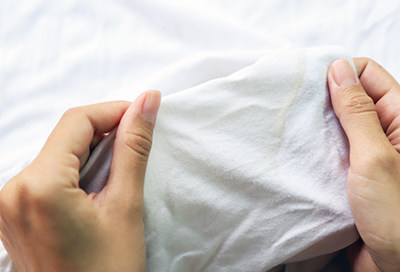
Clothes are not clean after washing in Samsung washing machine
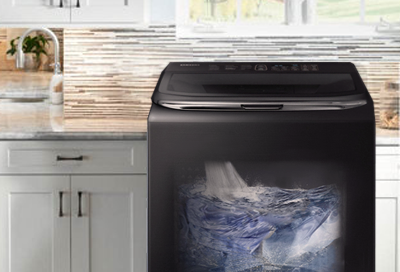
Usually if there's something wrong with the washer that's going to affect how well it cleans, then it also affects something else, like a draining, filling, or spinning issue, or even an error code. But if your washing machine seems to be working just fine, it's just the clothes aren't clean as you would like, then it's not really an issue with the