You can check your current mobile and Wi-Fi data usage, as well as customize data warnings and limits.
Turn on Data saver
The Data saver feature helps you reduce your data consumption by preventing selected apps from sending or receiving data in the background. You can turn it on through your phone's Data usage settings.
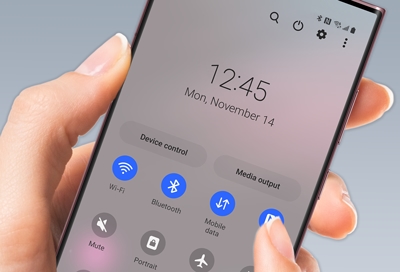
- Swipe down from the top of the screen, and then tap the Settings icon. From there, tap Connections.
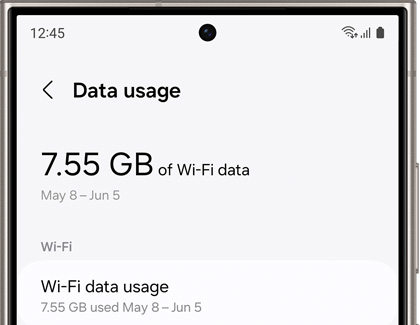
- Tap Data usage to view your current usage.
- Tap Data saver, and then tap the switch to turn on Data saver.
- To allow some apps to have unrestricted data usage, tap Apps that can always use data, and then tap the switch next to each app to specify restrictions.
Note
Use these features to keep an eye on your estimated data usage. Certain options may vary by carrier.
Monitor mobile data
You can customize your mobile data access by setting limits and restrictions.
Swipe down from the top of the screen, and then tap the Settings icon. From there, tap Connections, and then tap Data usage. The following options are available:
- Mobile data: Enable or disable the mobile data connection from your carrier.
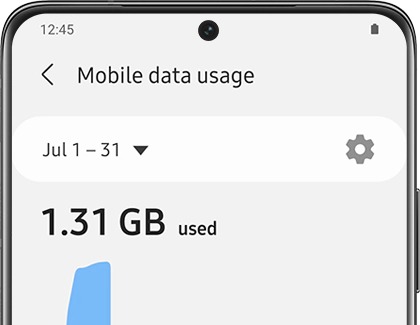
- Mobile data usage: Tap Mobile data usage to see how much data has been used, and by what apps.
- Billing cycle and data warning: Define when your data refills, and set a warning for when you've used a certain amount.
- Allowed networks for apps: Set apps to always use mobile data, even when your device is connected to Wi-Fi.
- Alert me about data usage: Enable alerts for when your mobile data usage reaches the amount you chose.
- Mobile data usage: View data usage over mobile connections for a designated period of time. You can view total usage as well as usage by app.
- Billing cycle and data warning: Change the monthly date to align with your carrier’s billing date.
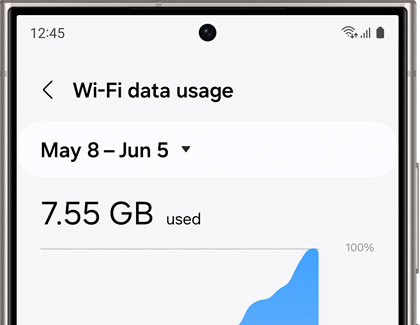
Monitor Wi-Fi data
You can restrict Wi-Fi data access by customizing usage limits and networks. Or, monitor your data usage when roaming off outside of your carrier’s network.
- Swipe down from the top of the screen, and then tap the Settings icon. Tap Connections.
- Tap Data usage, and then tap Wi-Fi data usage to view data usage over Wi-Fi for a designated period of time. You can view total usage as well as usage by app.