How to use the racks in my oven
There are various types of racks and accessories that come with your Samsung oven. Some of them look similar but they have their own different uses. Get to know how to use them properly.
Overview of the oven accessories
It is important to put your racks in the right position. Different rack positions and types of racks will make for different outcomes of your cooking. Here are the proper ways to use and install oven racks and other accessories- Wire rack, Wire rack insert, Baking tray, Universal tray, Extra-deep tray, Telescopic rail, Side rack, and Divider.

Oven racks
Wire rack
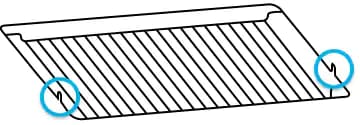
Use the wire rack for grilling and roasting. When you insert the wire rack into the oven, keep the protruding parts (stoppers on both sides) toward the front.
Wire rack insert
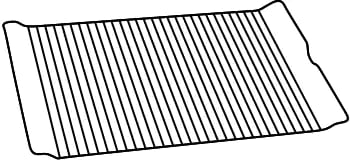
The wire rack insert is combined with the tray to prevent liquid dropping onto the bottom of the oven. Put the wire rack insert on the tray and then insert it into the oven.
Note: Do not touch the racks without gloves when they are hot.
Tips on attaching/detaching the side racks (Applicable models only)
Some oven models have side racks that are used to hold racks and trays.
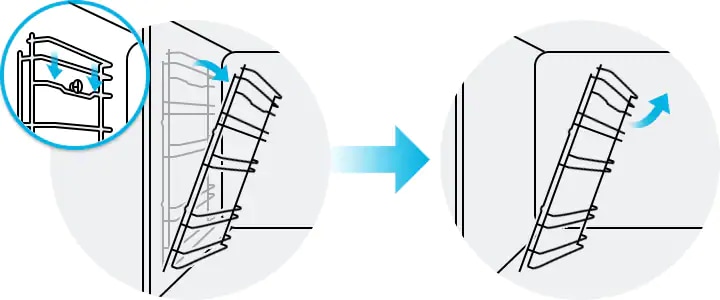
Step 1. Press the top line of the left side rack and lower by approximately 45°.
Step 2. Pull and remove the left side rack.
Step 3. Remove the right side rack in the same way.
Step 4. Clean both side racks.
Step 5. When cleaning is done, follow steps 1 to 2 in the reverse order to reinsert the side racks.
Note: The oven operates without the side racks and racks in position.
Oven trays
Baking tray
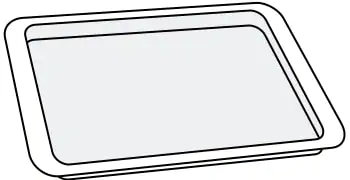
The baking tray (depth: 20 mm) is for baking cakes, cookies, and other pastries. Put the slanted side to the front.
Universal tray
The universal tray (depth: 30 mm) is used for most of cooking and roasting. You can use the wire rack insert to prevent liquid from dropping onto the bottom of the oven. Put the slanted side to the front.
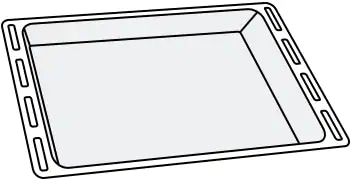
Extra-deep tray
The extra-deep tray (depth: 50 mm) is used for roasting with or without the wire rack insert. Put the slanted side to the front.

Note: Available accessories may differ by oven models.
Telescopic rail
Once the telescopic rail is installed, it is effortlessly easy to get things in and out of the oven because of its smooth movement. Use the telescopic rail plate to insert the tray as follows.
Step 1. Pull out the rail plate from the oven.
Step 2. Put the tray on the rail plate and push the rail plate into the oven.
Step 3. Close the oven door.

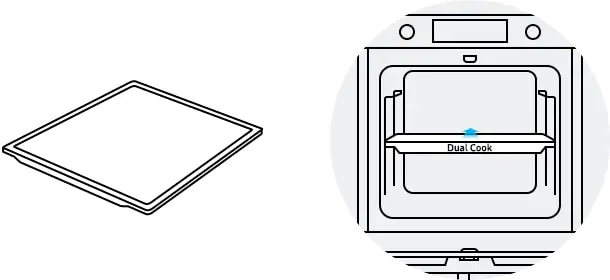
Divider (for Dual Cook mode)
The divider separates the oven into two compartments for Dual Cook mode. You can use both the upper and lower compartments to cook two different foods, or simply choose one compartment to cook with.
Insert the divider in the middle to separate the cooking chamber in two compartments. Make sure to insert the divider with the Dual Cook wording facing on the front side. Then, the oven senses the divider and its default setting activates the upper compartment.
Tips for cleaning the racks
Certain kinds of detergents and cleaning tools can damage the oven and racks. Check before using them to clean the oven racks.
Available: Warm soapy water, mild cleaning detergent with a clean cloth, kitchen roll, dry towel.
Unavailable: Abrasive cleaning agent with a hard brush, scouring pads or cloths, steel wool, knives, or any other abrasive materials.
Thank you for your feedback!
Please answer all questions.