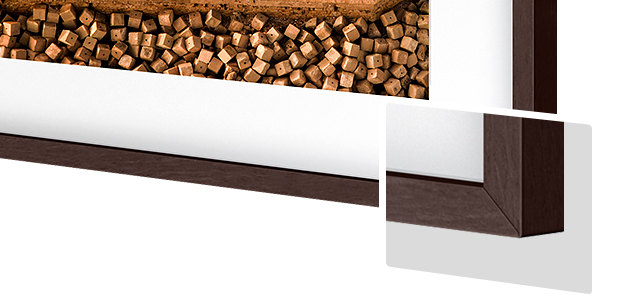
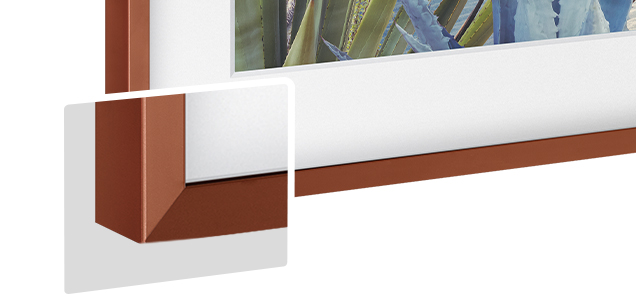
Bottom Panel Black (Goes with Black, Pink or White Top Panels)

Bottom Panel Black (Goes with Black, Pink or White Top Panels)

RA-F18DBB33 RA-F18DBB33/TL

  • Glam Charcoal Glass - BESPOKE FDR Custom Panel

Choose Colour

Colour :

BESPOKE Pairing Kit

Bespoke Pairing Kit is required when you combine more than one Bespoke refrigerator as a module.

Pairing kit provides a seamless join between BESPOKE refrigerator products of the same height. Compatible with BESPOKE Bottom Freezer refrigerators and 1Door to ensure a proper fit.

*If you want the pair installation of BESPOKE refrigerators, check if the desired models allow pair installation before purchasing them.**You can check it at the retail store or samsung.com website.***Make sure to purchase the appropriate pair installation kit for your model.****Use the dedicated pair installation kit to prevent any installation problem.

Complete your own refrigerator with a variety of panel colors

Bespoke - various colors

Create a beautifully stylish and unique kitchen space with a customizable design. Various door panel colors* will help you complete the kitchen you imagine and aspire to.

Various textured panels of various beautiful colors are displayed. Various textured panels of various beautiful colors are displayed.

*Available colors vary in each country.

Your taste is even more respected with a diversity of panel textures

Bespoke - various finishes

Various textures* blend in with various colors* to create your own door panel finish. And it makes your own one-of-a-kind refrigerator and kitchen interior.

Your taste is even more respected with a diversity of panel textures

Bespoke - various finishes

Various textures* blend in with various colors* to create your own door panel finish. And it makes your own one-of-a-kind refrigerator and kitchen interior.

Your taste is even more respected with a diversity of panel textures

Bespoke - various finishes

Various textures* blend in with various colors* to create your own door panel finish. And it makes your own one-of-a-kind refrigerator and kitchen interior.

Your taste is even more respected with a diversity of panel textures

Bespoke - various finishes

Various textures* blend in with various colors* to create your own door panel finish. And it makes your own one-of-a-kind refrigerator and kitchen interior.

Your taste is even more respected with a diversity of panel textures

Bespoke - various finishes

Various textures* blend in with various colors* to create your own door panel finish. And it makes your own one-of-a-kind refrigerator and kitchen interior.

  • *Available textures and colors vary in each country**Localize and use only the carousel images corresponding to each sub.

Customizable door panels that can be easily changeable to fits your style

Bespoke - Changeable door panels

Simply replace the door panels when you move or change the kitchen interior. You can enjoy the fresh and new look of your refrigerator.

* Products and panels are intended to help you understand.

How to change the panels

You can replace panels on your own at any time by purchasing panels.

Prepare foot ladder, screwdriver, safety gloves, 2 suction cups and closed-toe shoes. 1, place the bottom edges into the groove, press the top edges, then insert 3 upper clips. 2, attach handle and handle cover. Always attach the panel parallel to the product, and not to get your fingers stuck. Prepare foot ladder, screwdriver, safety gloves, 2 suction cups and closed-toe shoes. 1, place the bottom edges into the groove, press the top edges, then insert 3 upper clips. 2, attach handle and handle cover. Always attach the panel parallel to the product, and not to get your fingers stuck.

*Only available in US and EU region**Refer to the manual for detailed replacement instructions.***Use only the content of 'How to change the panels' corresponding to each sub.

How to change the panels

You can replace panels on your own at any time by purchasing panels.

Prepare foot ladder, flat-head screwdriver, safety gloves, and closed-toe shoes. 1, place the bottom edges into the groove, press the top edges and insert 3 upper clips. 2, install the same from upper edges. Always attach the panel parallel to the product no gap, and not to get your fingers stuck. Prepare foot ladder, flat-head screwdriver, safety gloves, and closed-toe shoes. 1, place the bottom edges into the groove, press the top edges and insert 3 upper clips. 2, install the same from upper edges. Always attach the panel parallel to the product no gap, and not to get your fingers stuck.

*Only available in US and EU region**Refer to the manual for detailed replacement instructions.***Use only the content of 'How to change the panels' corresponding to each sub.

Specifications

{{family.currentModel.displayName}}

{{family.currentModel.modelCode}}

Colour : {{chip.displayName}}
{{model.prices.currentPriceDisplay}}
From {{model.prices.monthlyPrice}}/mo for {{model.prices.months}} mos
or {{model.prices.currentPriceDisplay}}
Price without VAT: {{model.prices.vatFreePriceFormatted}}

Price with discount: {{model.prices.currentPriceDisplay}}

Price before: {{model.prices.priceDisplay}}

{{model.prices.priceDisplay}} {{model.prices.savePrice}}
  • {{summary.title}}

    {{summary.value}}{{summary.unit}}

  • {{summary.title}}

Compare the models

Compare with similar items

Recently Viewed