How to reset sound settings on your Samsung TV

Navigating through the myriad of settings on your Samsung TV can be daunting, especially when it comes to audio configurations. Whether you're facing audio discrepancies, integrating new sound systems, or just seeking to enhance your auditory experience, resetting your sound settings can often provide a simple solution. This guide will first help you understand when it might be necessary to reset these settings, followed by a detailed, step-by-step procedure to effectively restore your TV's sound settings to their default state.
Note: This information is specific to televisions sold in Canada. Screen availability and settings may vary for models sold in other countries.
Resetting the sound settings on a Samsung TV can be important and useful in several scenarios:
- Audio Issues: If you're experiencing issues like distorted sound, lack of audio from certain speakers, or the audio not syncing with the video, resetting the sound settings can often resolve these problems by returning settings to their default state.
- After Customization: If you've changed many audio settings and the sound quality has degraded, or it's not what you expected, resetting can help you start over and re-adjust settings from a baseline.
- Post-Installation of Sound Systems: After installing additional sound systems like soundbars or home theater systems, resetting the TV’s sound settings can ensure that any previous configurations don't interfere with the new setup.
- Software Updates: Sometimes, after a software update, previous settings might not work as well with the new software version. Resetting the sound settings can ensure compatibility and optimal performance.
- Troubleshooting: As a troubleshooting step, resetting sound settings can help identify whether a sound issue is due to a setting or a hardware problem.
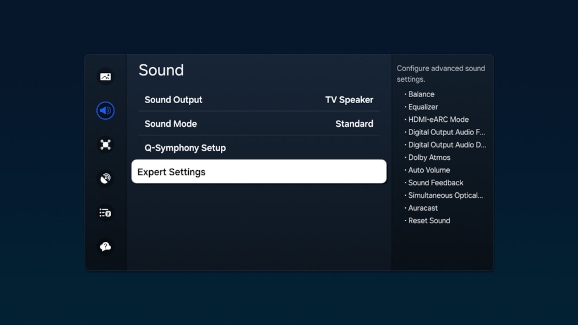
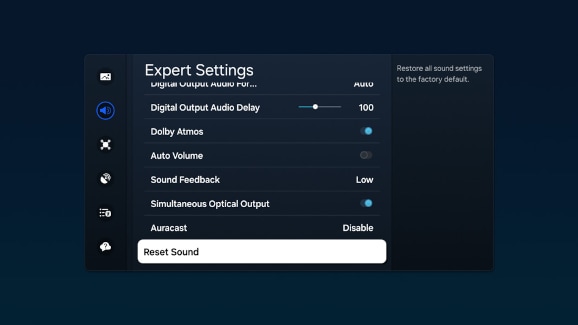
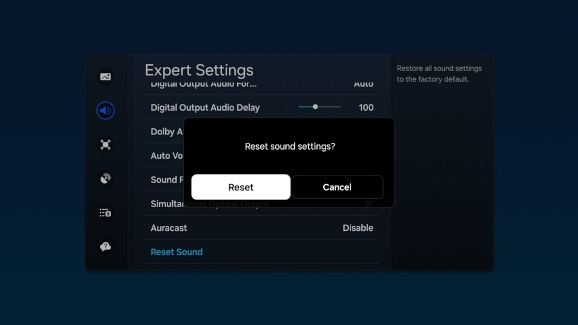
Resetting your sound settings can enhance your viewing experience or address any display issues. This section provides a straightforward guide on how to reset the sound settings on your modern Samsung TV, allowing you to make the most of its capabilities.
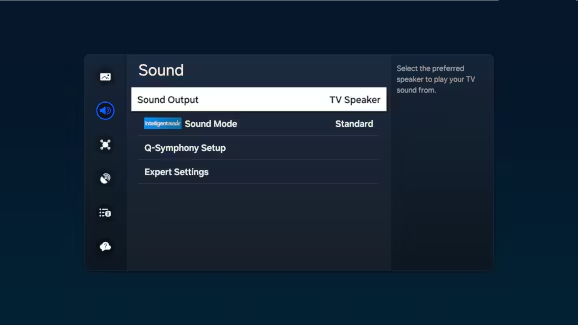
Now that your sound settings are reset, you might want to fine-tune them to suit your listening preferences. This section guides you through adjusting the sound settings, ensuring you can optimize your audio experience directly and conveniently.
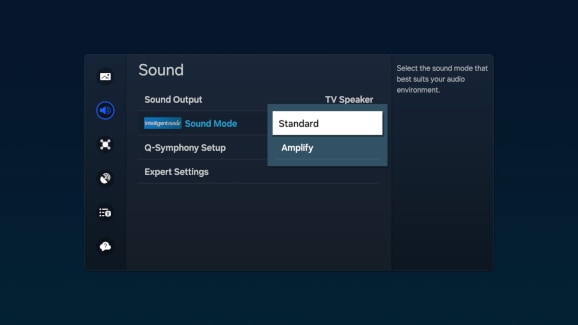
- Standard: Balanced sound where no tones are emphasized, such as the voices or bass.
- Amplify: Amplify mid and high tones of the sound. This is useful when voices are difficult to understand.
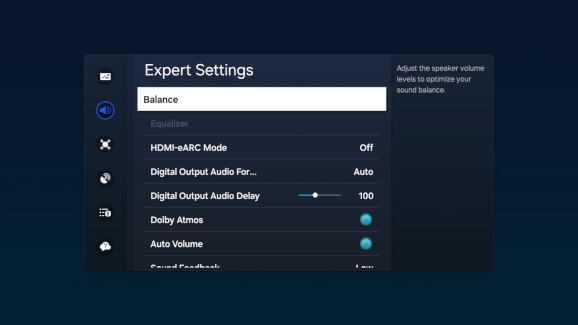
- Balance: Adjusts the audio balance between the right and left speakers.
- Equalizer: Customizes frequency levels for each speaker to fine-tune audio output.
- HDMI-eARC Mode: Enables connection to an audio device that supports enhanced Audio Return Channel (eARC) via HDMI.
- Digital Output Audio Format: Selects the digital audio output format, applicable when using HDMI sources and receivers connected via HDMI eARC or ARC.
- Digital Output Audio Delay: Sets the synchronization delay between the audio and video tracks, available with HDMI eARC or SPDIF connections.
- Dolby Atmos Compatibility: Allows the TV to process Dolby Digital+ streams with Atmos, received from external devices.
- Dolby Atmos: Enhances audio to deliver a realistic surround sound experience, specifically with Dolby Atmos content.
- Auto Volume: Automatically adjusts the volume to maintain consistent audio levels from different sources.
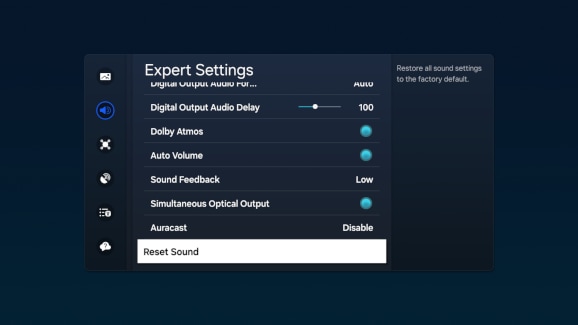
- Sound Feedback: Plays audio cues when a menu or option is selected, enhancing the navigational experience.
- Simultaneous Optical Output: Ensures that the device connected via optical cable continuously outputs sound.
- Auracast: Allows you to listen to the TV's audio by connecting to a Bluetooth audio device that supports Auracast technology.
- Reset Sound: Resets all current sound settings back to the factory defaults.
Note: The availability of settings may vary based on several factors including the TV model, year of manufacture, activated features, and software version.
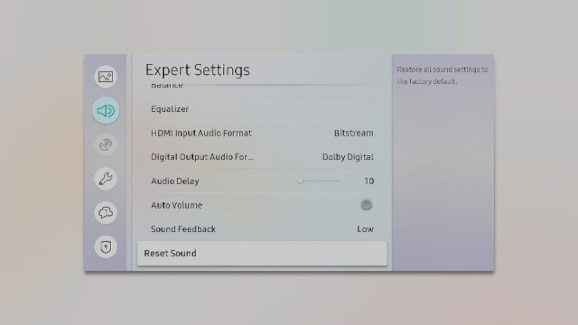
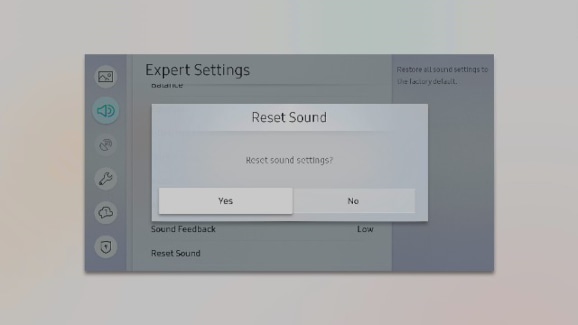
Understanding how to reset your sound settings to their factory defaults can be crucial for troubleshooting or improving your audio experience. This section provides a detailed guide on how to perform this reset, ensuring your older model TV delivers optimal sound quality.
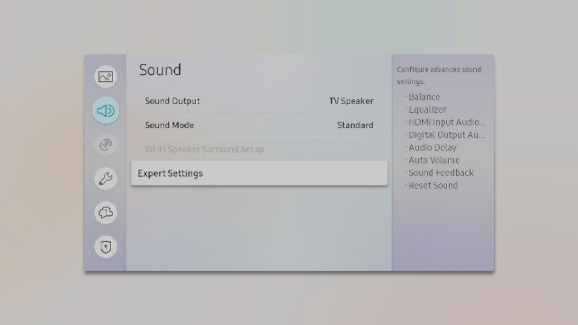
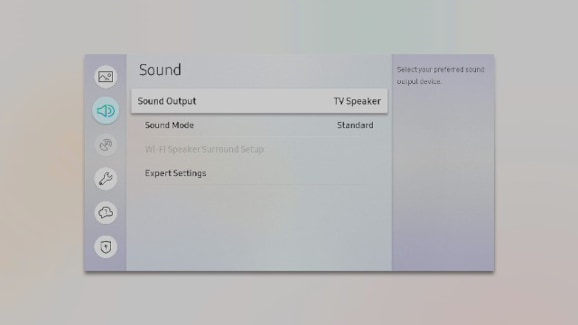
Adjusting the sound settings on your Samsung TV can significantly enhance your viewing experience, whether you're watching movies, sports, or listening to music. This section will guide you through the steps to fine-tune the audio to match your preferences, ensuring that you get the most out of your older model TV's audio capabilities.
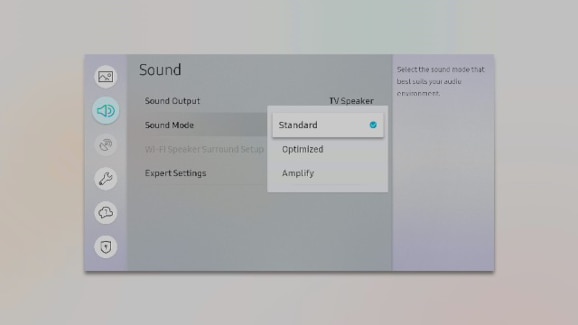
- Standard: Provides a balanced sound profile where no specific tones are emphasized, offering an even audio experience for all types of content.
- Optimized: Enhances specific audio effects and creates a more spacious sound environment, ideal for dynamic viewing experiences.
- Amplify: Increases the mid and high tones, making it easier to understand voices, especially useful for dialogue-heavy content.
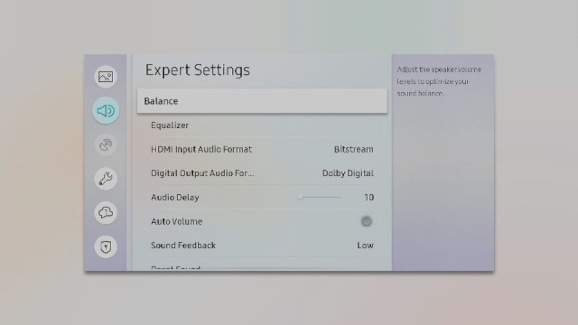
- Balance: Adjusts the audio balance between the right and left speakers, enhancing stereo effect.
- Equalizer: Allows you to tweak the levels of different frequency bands, from lows to highs, to tailor the sound to your liking.
- HDMI Input Audio Format: Select your preferred audio format for HDMI inputs, optimizing compatibility with various audio sources.
- Digital Output Audio Format: Choose the digital audio output format; 'Dolby Digital +' is available via HDMI (ARC) for compatible external speakers.
- Dolby Atmos Input: Enable this setting if your connected speakers support Dolby Atmos to experience enhanced audio depth.
- Auto Delay: Adjusts the delay time between audio and video tracks to ensure synchronization. This function is available only when the device is connected via SPDIF.
- Auto Volume: This function automatically adjusts the volume to maintain consistent audio levels regardless of content changes.
- Sound Feedback: Provides audible feedback as you navigate through menus and make selections, enhancing the user interface experience.
- Reset Sound: Resets all sound settings to their factory defaults, useful for troubleshooting or starting fresh with audio setup.
Note: The availability of settings may vary based on several factors including the TV model, year of manufacture, activated features, and software version.


Thank you for your feedback!
Please answer all questions.
RC01_Static Content : Hide call number function