Private Share on your Galaxy S21 5G phone

There is no need to be concerned about sharing personal photos, messages, or files when you use the Private Share feature on your Galaxy S21 5G device. Private Share encrypts your files and lets you select exactly which contacts can receive, open, and view them. It will let you set a time limit for your content, too. Once the time has expired, the file you sent will be removed from your recipient’s devices so they can no longer access it. Private Share also prevents your recipients from forwarding your files to others.
Note: Information provided applies to devices sold in Canada. Available screens and settings may vary for smartphones sold in other countries. An active SIM card and a Galaxy phone running Android 9.0 or higher is needed to use Private Share. Tablets, PCs, and iOS devices are not compatible with Private Share.
Most file types are supported with Private Share. However, you can review the list below if you need to share a specific file type.
- Documents: .txt, .pdf
- Audio: .mp3, .wav, .ogg, .m4a
- Video: .webm, .mp4, .3gp, .wkv
- Image: .jpg, .jpeg, .png, .gif, .bmp, .webp
Note: Private Share allows you to send a maximum of 20MB at one time.
Private Share lets you protect personal or sensitive information by allowing access to your files to certain people only. You will also be able to restrict recipients from forwarding your information. If your device did not come with Private Share, you can download it using the Google Play Store.
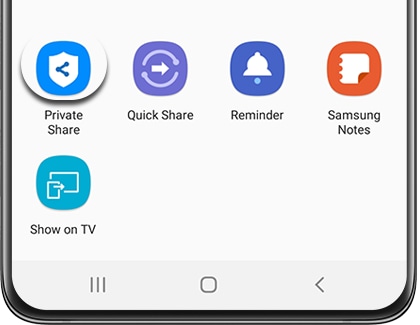
Navigate to a file you would like to share, such as a photo in Gallery, and then tap the Share icon (it looks like a less-than sign). Swipe to and tap Private Share.

Then, select a recipient. Up to five people can be selected. You can search for a contact or choose one from your Recents list.
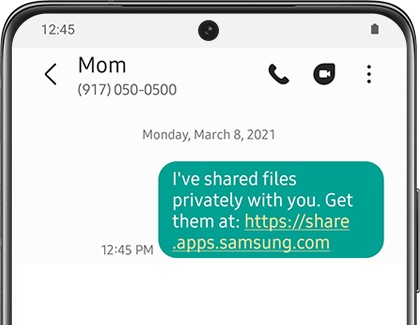
Note: If the recipient does not have the Private Share feature or app installed on their device, you can send them an installation link via SMS, a QR code, or through an app. Private Share is not available on iOS devices.
Select the time limit, or expiration date, for your file by tapping the Settings icon (the three vertical dots), and then tapping Expiration date. Tap Done when you are finished.
Note: Please see the next section for more information about setting expiration dates.
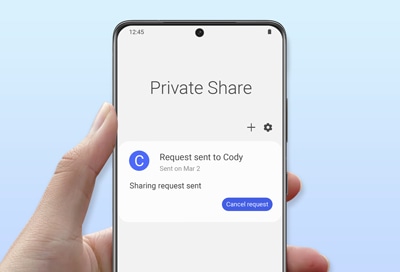
Tap Send. The recipient will need to accept the file and have Private Share installed in order to view it.
The time limit, or expiration date, can be set before or after sending a file. No matter which way you set it up, it will be in place until your preferred time limit passes. Once the period has expired, your recipients will not be able to view your file. You can also revoke someone’s permission after sending a file if needed.
- Set the date before sending
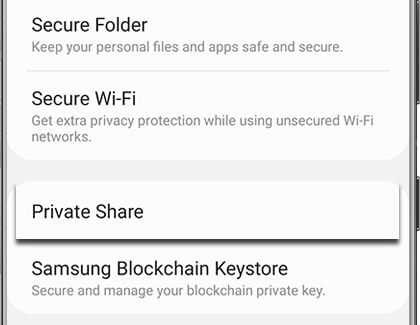
Navigate to and open Settings, and then tap Biometrics and security. Tap Private Share.

Tap the Settings icon in the top right corner (it looks like a gear). Tap Expiration date, adjust the time limit as needed, and then tap Done.
- Set the date after sending
Select the recipient on the Sent tab, and then select the file you sent.

Tap the More options icon (the three vertical dots), and then tap Change expiration date. If you need to block the recipient from seeing the shared file, tap Revoke sharing instead.
Is this content helpful?
Thank you for your feedback!
Please answer all questions.