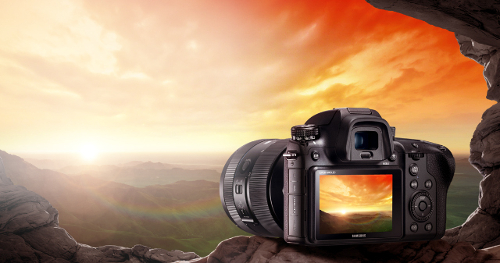
NX1 Camera - Time-lapse shots (NX1)
Interval Capture
The "Interval Capture" feature of the Samsung NX1 lets you set the shooting interval between shots, the number of shots, and the shooting start time for your camera. Use this function to capture photos at regular intervals during an event, such as a lunar eclipse, traffic moving through a city, or a sunrise. You can save these interval shots as a series of individual images, or you can save them as a time-lapse video. The time-lapse video feature allows you to speed up slow processes, such as a flower blooming or stars moving in the night sky.

Capturing Interval Shots
1. In Shooting mode (ready to take a picture), press the MENU button →
 → "Interval Capture"
Note: Interval Capture is available in P, A, S, and M shooting modes, but not available in AUTO shooting mode.

2. Use the camera navigation buttons to choose a shooting interval, number of shots, and shooting start time.
3. Select "Start Interval Capture." If you set a shooting start time (for instance, to start shooting when the sun goes down), wait for shooting to begin at the time you set. Otherwise, press the shutter button to start the interval capture.
Time-Lapse Video and Extra Tips
• To save interval shots as a video, select "Time Lapse" → "On." The camera records a UDH video up to 60 seconds long at a rate of 10 fps, for a total of 600 shots. This would let you, for instance, shoot one photo per minute for 10 hours__for a total of 600 photos__that would take 60 seconds to play back as a time-lapse video. When using the Time Lapse function, you can set the count to less than 600 shots, though.
• If you set the interval count to more than 600 shots or there is not enough space on the memory card after the Time Lapse function has been set, the interval count will change automatically to allow you to use the Time Lapse function.
• If you set the interval time to 1 second and set the Time Lapse function, the interval time will change to 2 seconds.
• Touch
 to pause while capturing photos.
• Touch
 to resume.
• Touch
 or press MENU to stop capturing.
• Use a shutter release cable with a tripod to minimize camera movement when capturing interval shots.
• Connect the power cable if the shooting interval is long or the number of shots to be taken is high.
• If the shooting interval is set to between one minute and 10 minutes, the camera will enter Display save mode after it starts to capture a photo. If a shooting interval exceeds 10 minutes, the camera will enter Power save mode and turn on and capture a photo automatically at the next interval. Press the shutter button to cancel Power save mode.
• If the battery or memory card is removed while capturing photos, shooting will stop. Before removing the battery or memory card, interval shooting must be paused and the camera must be turned off.
Is this content helpful?
Thank you for your feedback!
Please answer all questions.
