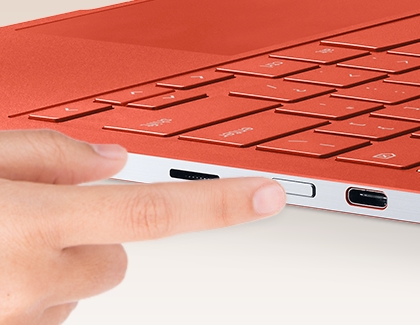
Transfer data easily to your new Chromebook via Google Drive
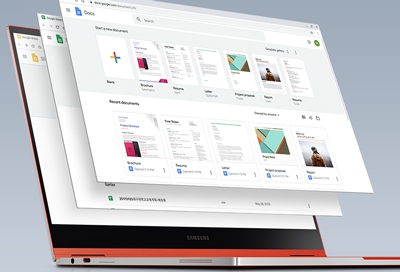
You don't need a fancy external hard drive or even a flash drive to transfer your important documents from an old computer to your new Chromebook. Since digital storage apps like Google Drive are built into the Chrome OS, you just need to make sure everything is backed up to your Google account. Once they are, the transfer will be fast and easy.
Continue shopping with Samsung
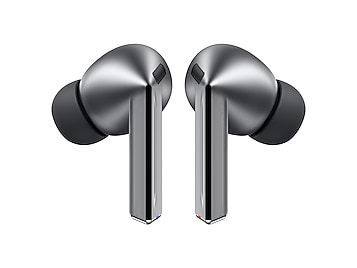
Galaxy Buds3 Pro
Save $70 - $210
From $189.99 before trade-in
From $189.99 before trade-in
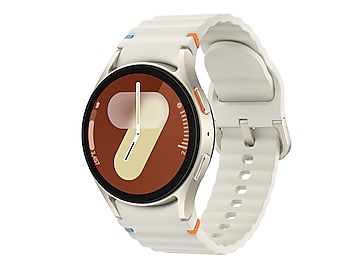
Galaxy Watch7, 40mm
Save $215 - $275
From $199.99 before trade-in
From $199.99 before trade-in
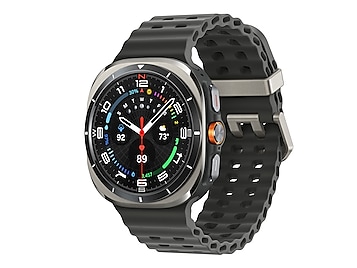
Galaxy Watch Ultra, 47mm
Save $415 - $525
From $449.99 before trade-in
From $449.99 before trade-in
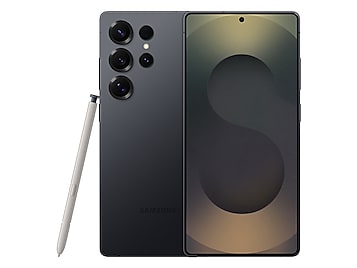
Galaxy S25 Ultra, 512GB
Save $50 - $630
From $1419.99 before trade-in
From $1419.99 before trade-in
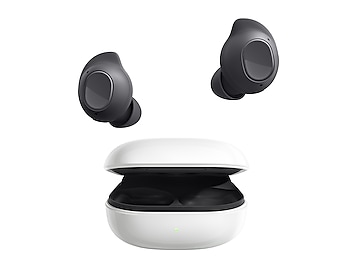
Galaxy Buds FE
Save $35
From $64.99$99.99
From $64.99
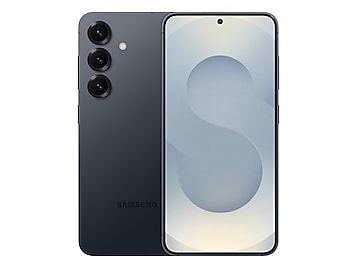
Galaxy S25, 256GB (Unlocked)
Save $110 - $560
From $799.99 before trade-in
From $799.99 before trade-in
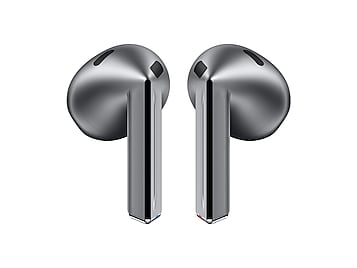
Galaxy Buds3
Save $50 - $140
From $139.99 before trade-in
From $139.99 before trade-in
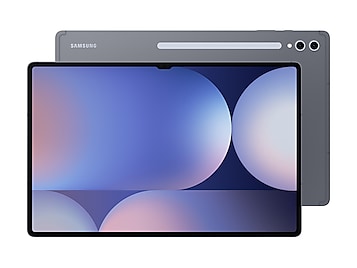
Tab S10 Ultra, 256GB
Save $209 - $910
From $999.99 before trade-in
From $999.99 before trade-in
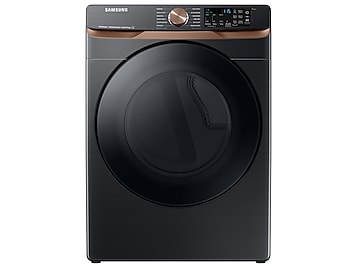
7.5 cu. ft. Smart Electric Dryer with Steam Sanitize+ and Sensor Dry
Save $350
From $849$1,199
From $849

Galaxy S25 Edge, 512GB (Unlocked)
Save $50 - $630
From $1219.99 before trade-in
From $1219.99 before trade-in
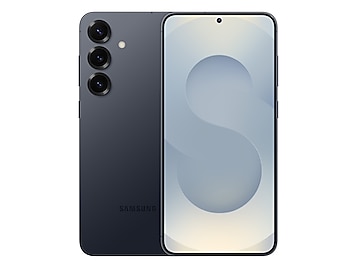
Galaxy S25+, 512GB (Unlocked)
Save $50 - $530
From $1119.99 before trade-in
From $1119.99 before trade-in
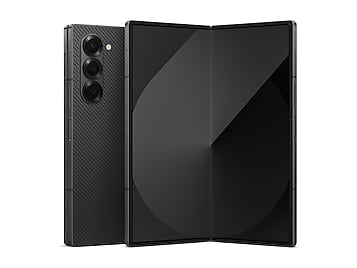
Galaxy Z Fold6, 512GB (Unlocked)
Save $417 - $1400
From $1619.99 before trade-in
From $1619.99 before trade-in
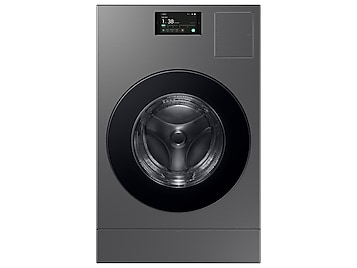
Bespoke 5.3 cu. ft. All-in-One AI Laundry Combo Ultra Capacity Washer and Ventless Heat Pump Dryer
Save $1305 - $1800
From $1999 before trade-in
From $1999 before trade-in

65" The Frame Pro Neo QLED 4K Art Mode Smart TV (2025)
From $2199.99
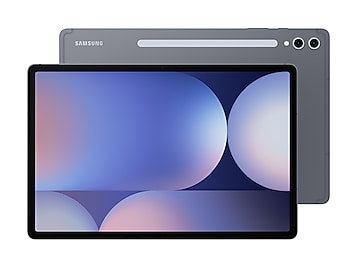
Tab S10+, 256GB
Save $129 - $620
From $879.99 before trade-in
From $879.99 before trade-in
We're here for you
Contact Samsung Support
Contact us online through chat and get support from an expert on your computer, mobile device or tablet. Support is also available on your mobile device through the Samsung Members App.
© 2025 Samsung Electronics America, Inc. Samsung, Samsung Galaxy and Family Hub are trademarks of Samsung Electronics Co., Ltd.
All other brands, products and services, and their respective trademarks, names and logos, are the property of their respective owners.
The above content is provided for entertainment and information purposes only. Consult user manual for more complete information.
All information included herein is subject to change without notice. Samsung is not responsible for any direct or indirect damages,
arising from or related to use or reliance of the content herein.
