Edit your photos with the Galaxy S22 series

Your Galaxy phone’s camera is capable of taking beautiful photos, but did you know that you can edit your photos to make them even better? Level up your selfies and family portraits with the editing options on your Galaxy S22 series phones! Face effects and Style will help you make sure your selfies are ready for social media, and the Spot colour and Colour mix options let you play around with your photo’s colours and saturation. If you love using Portrait mode, you will be happy to know there are filter options available right in the Camera app, so you can really get creative with your photography skills.
Note: Information provided applies to devices sold in Canada. Available screens and settings may vary for smartphones sold in other countries.
Have a selfie that needs a little more TLC? You can use the Face effects options to remove red-eye, smooth, or select other editing options.
Note: The Face effects option will only appear when editing photos of people or selfies.

Note: You can tap the arrows to undo or redo your edit.
Note: You can also keep the original photo by tapping the More options icon (the three vertical dots), and then tapping Save as copy.
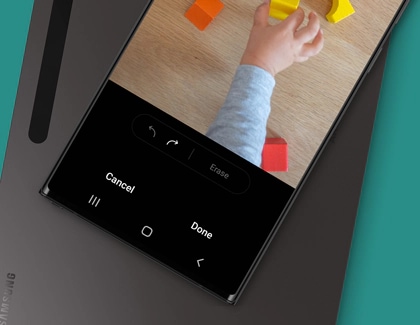
Note: The Object eraser tool will remove unwanted items from photos. Plus, you can easily undo the edits if you make a mistake.
Note: You can also tap Erase shadows and Erase reflections if desired.
Note: You can also keep the original photo by tapping the More options icon (the three vertical dots), and then tapping Save as copy.
Note: Spot colour lets you add or remove colour from your photos. Maybe you took a photo that is too bright or colourful; just remove some of it, so the subject of your photo really stands out.
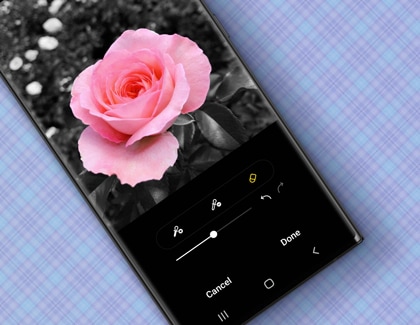
Note: You can tap the arrows to undo or redo your edit.
Note: You can also keep the original photo by tapping the More options icon (the three vertical dots), and then tapping Save as copy.
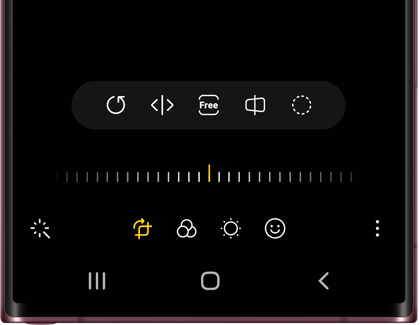
Note: Some social media apps allow you to add filter effects to your photos, but with the Style option you can do this right on your phone!
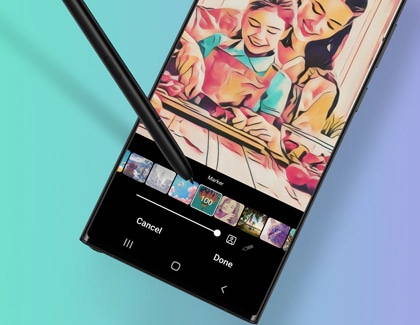
Note: To view your original photo again, tap Original.
Note: You can also keep the original photo by tapping the More options icon (the three vertical dots), and then tapping Save as copy.
Note: Sometimes, a photo’s colours may not look how you want them to. In this case, you can use the Colour mix options to change up different colours' intensity in your photos.
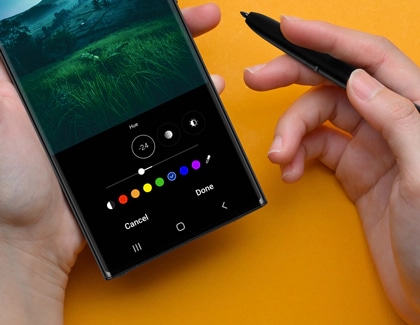
Note: You cannot add more than three custom colours.
Note: You can also keep the original photo by tapping the More options icon (the three vertical dots), and then tapping Save as copy.
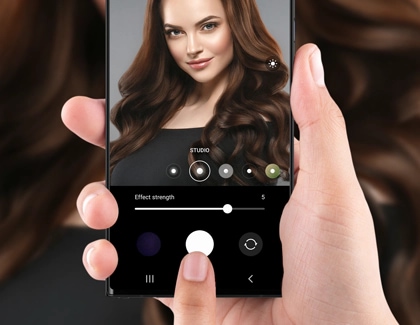
Note: Not only can you get stunning photos of yourself and others with Portrait mode, but you can add effects before taking the photo! Plus, continue editing the photo to your heart’s content using various lighting and filter options.
Note: You can also keep the original photo by tapping the More options icon (the three vertical dots), and then tapping Save as copy.
Thank you for your feedback!
Please answer all questions.
The coding for Contact US > Call > View more function. And this text is only displayed on the editor page, please do not delet this component from Support Home. Thank you